
My main focus for this week are the environment asset building and logo transition at the end of shot 05.
Before working on the details I wanted to take care of two minor details. The first thing I wanted to confirm was that the soundtrack we chose is available as public domain use. I wanted to make sure we don't get into trouble by using copyrighted material. From my research I learned that recordings published before 1923 is public domain. Camille Saint-Saëns' "The Swan" was published in 1913. Here's a link to my source from Library of Congress: https://www.loc.gov/item/jukebox-648576/
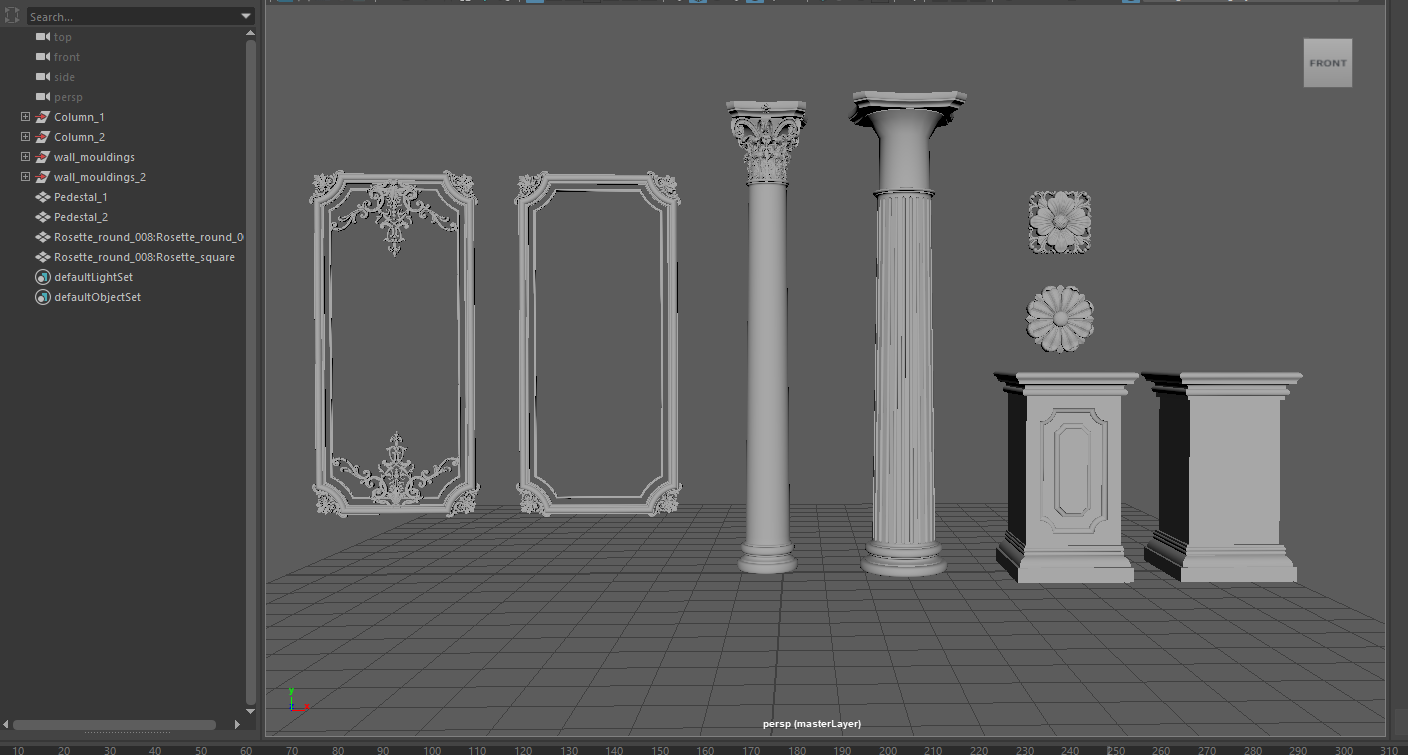
For the environment details, I found some of the assets that I had modeled and re-topologized for my undergraduate senior film. I cleaned up some of the assets and changed the level details so that we have options to use for environment art direction for our commercial.
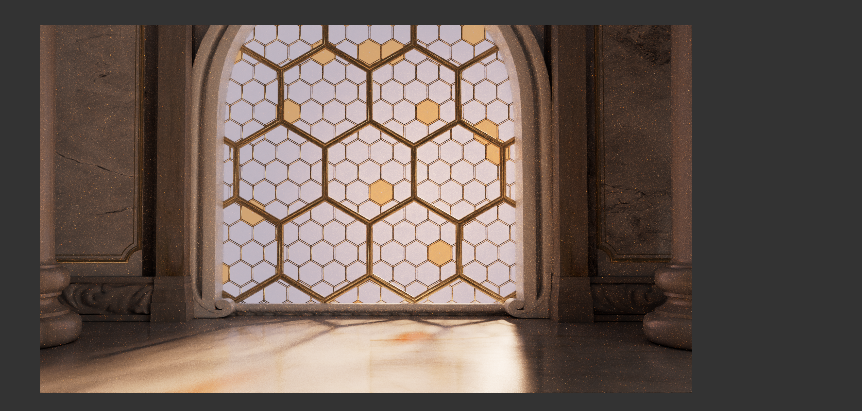
I worked with my teammate Emma to decide the details for our environment. It was a lot of going back and forth on the details and in the process we came up with a lot of variations. Emma tweaked the procedural honeycomb details she had setup so we could try out a few variations of patterns for the window.

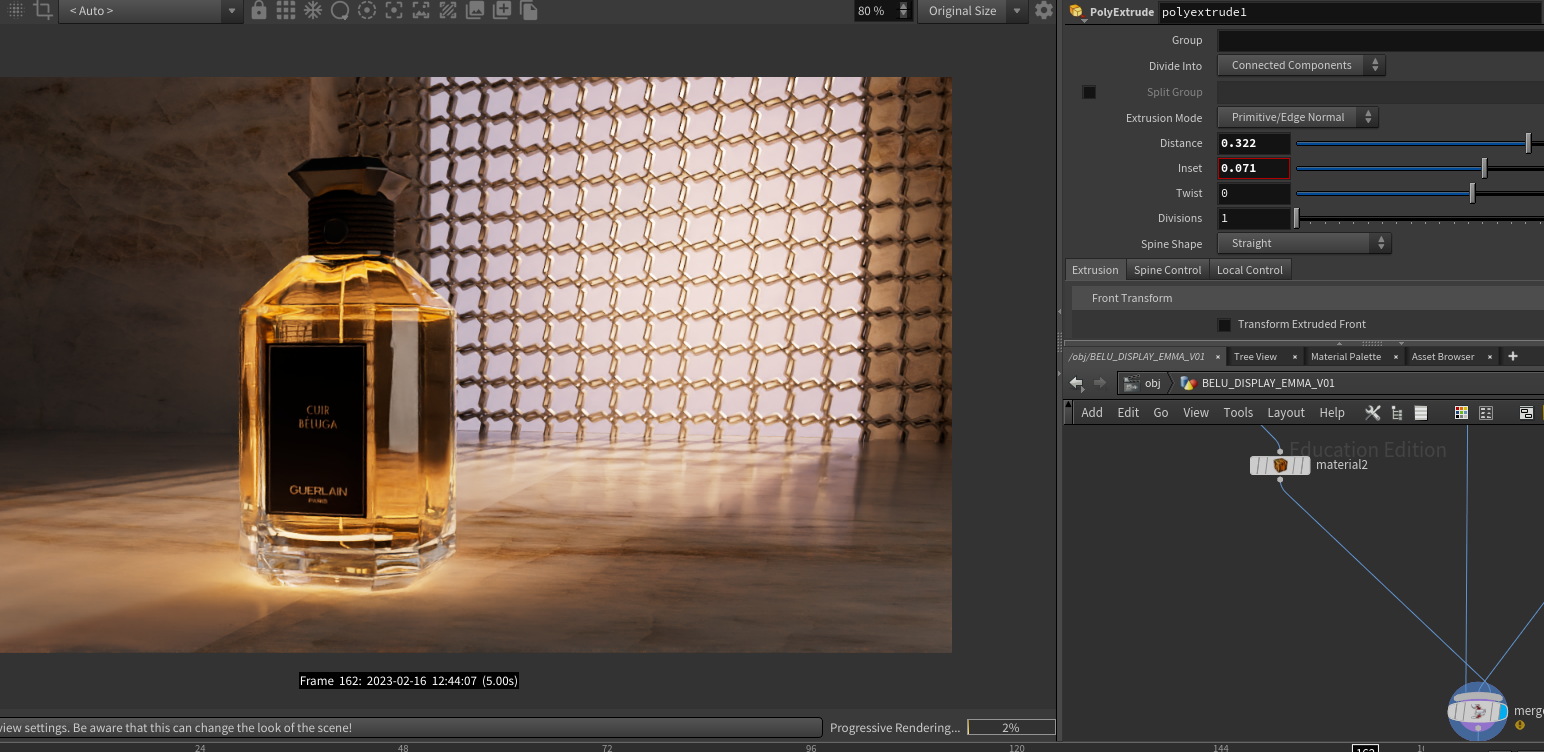

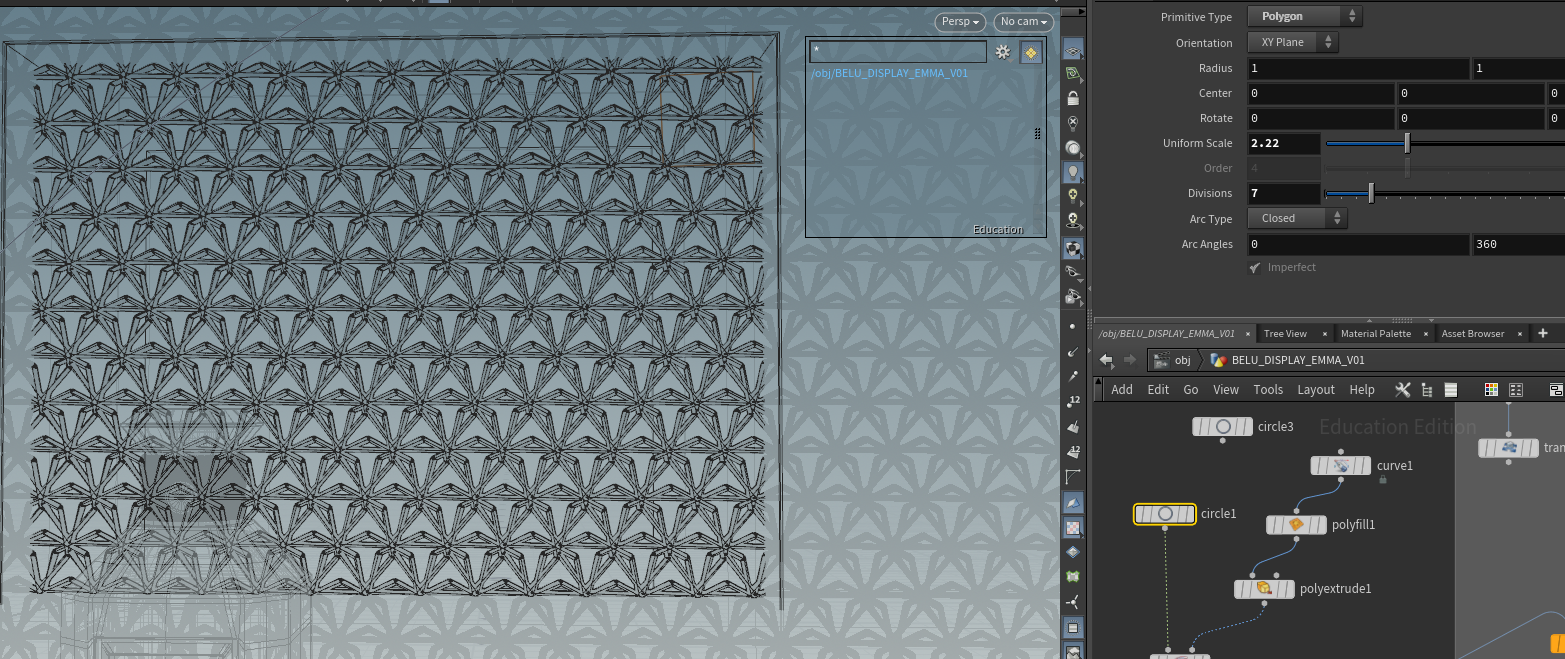


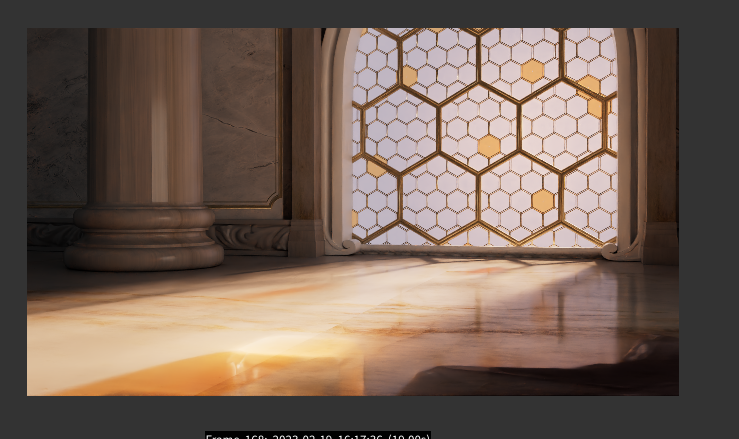
We settled on the honeycomb detail on the right for the window and then tried out some of the assets I had setup to slowly add details to the environment.

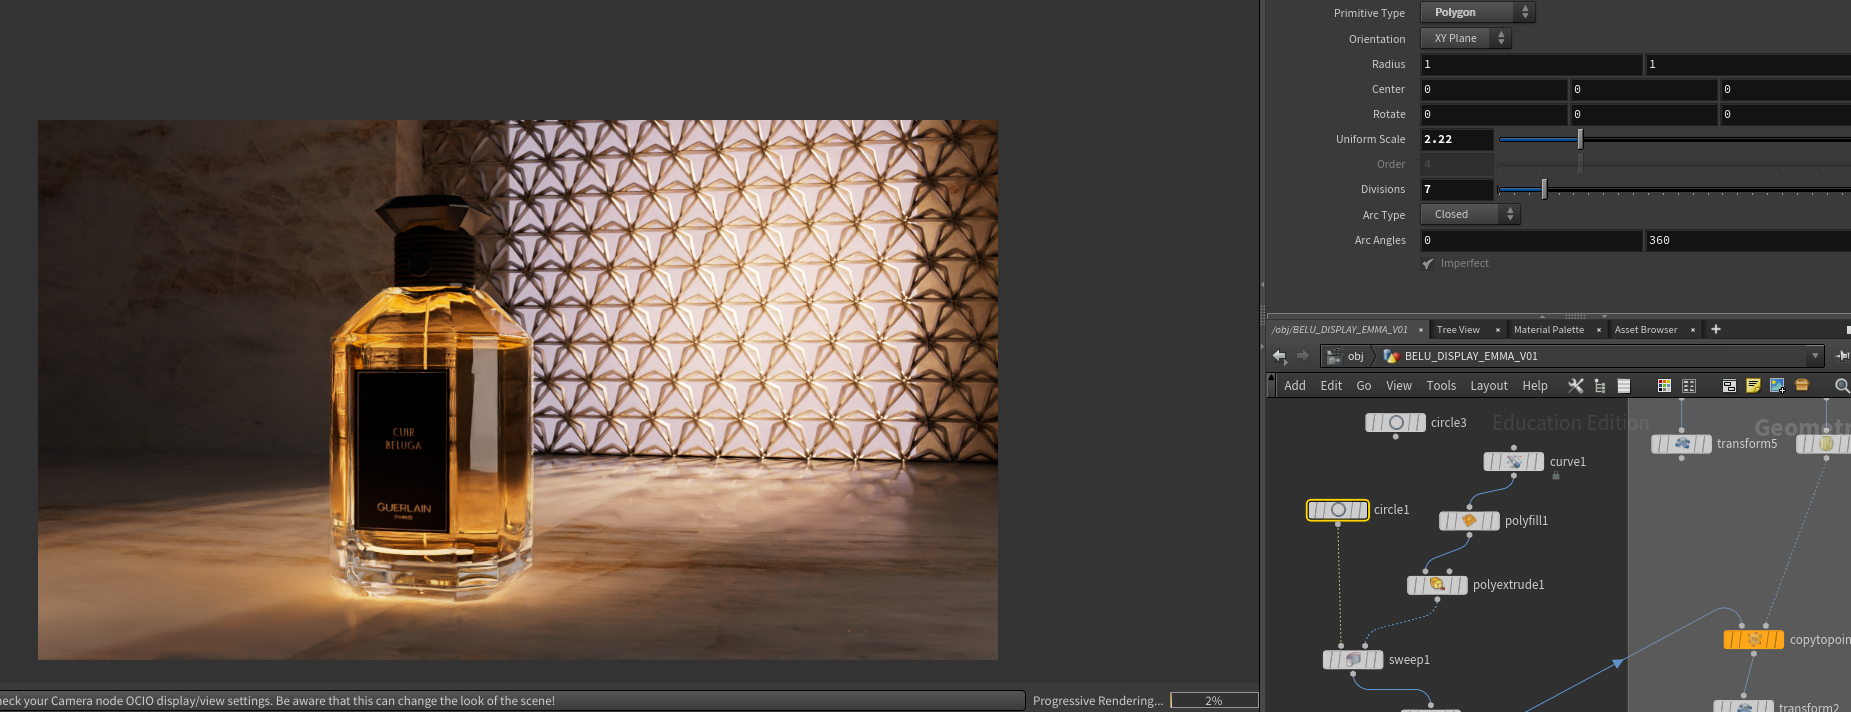
We also tried one of my assets for the window detail to see if it looked better but we thought it was too distracting and took the focus away from the bottle. So we decided to keep the honeycomb pattern.
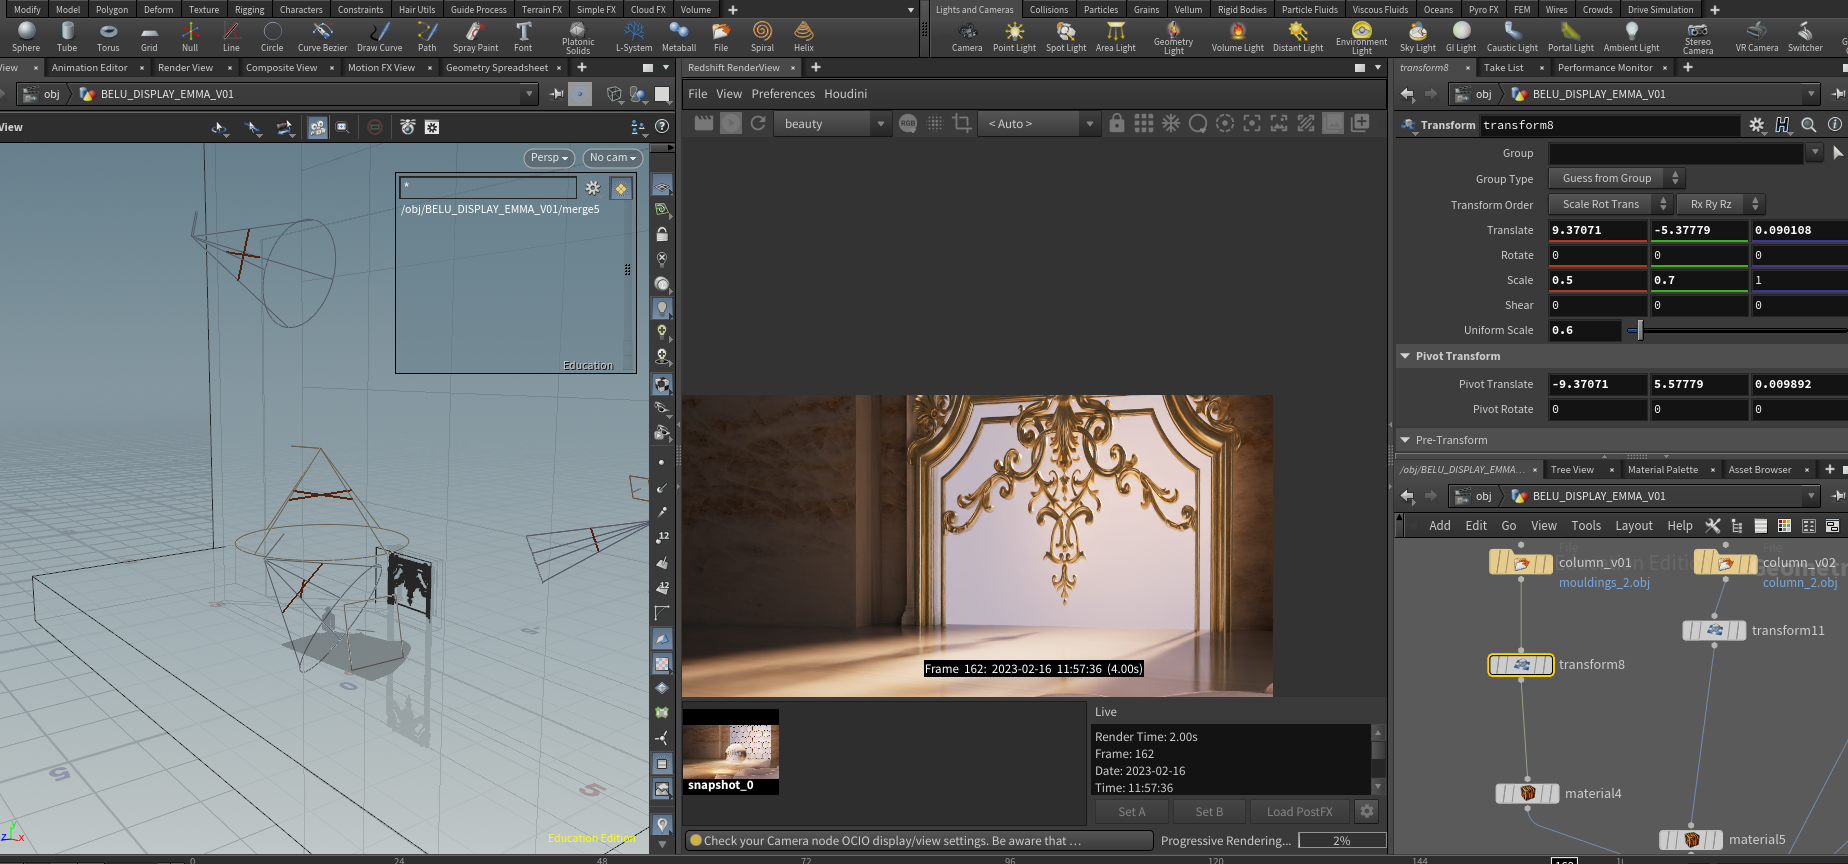
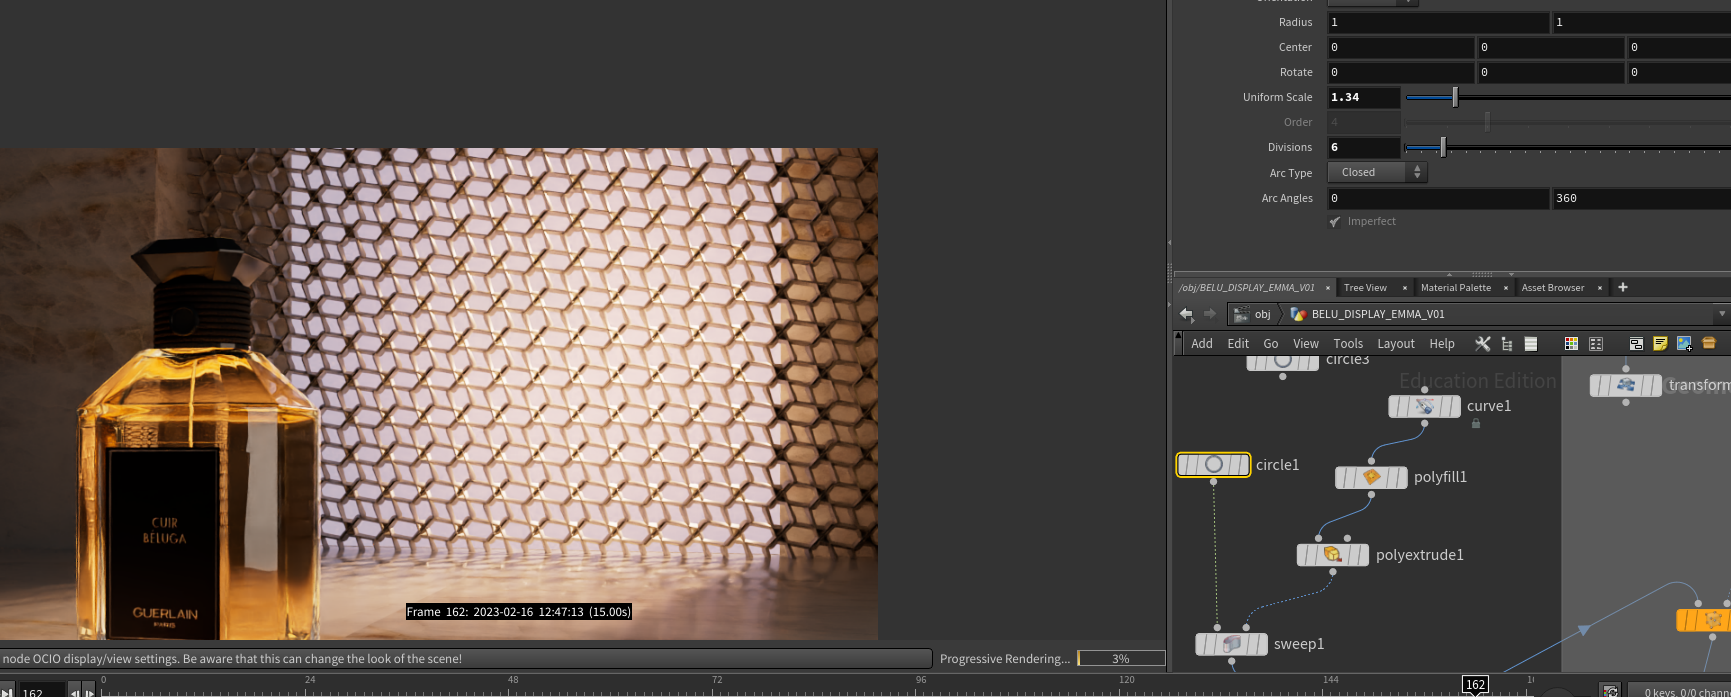
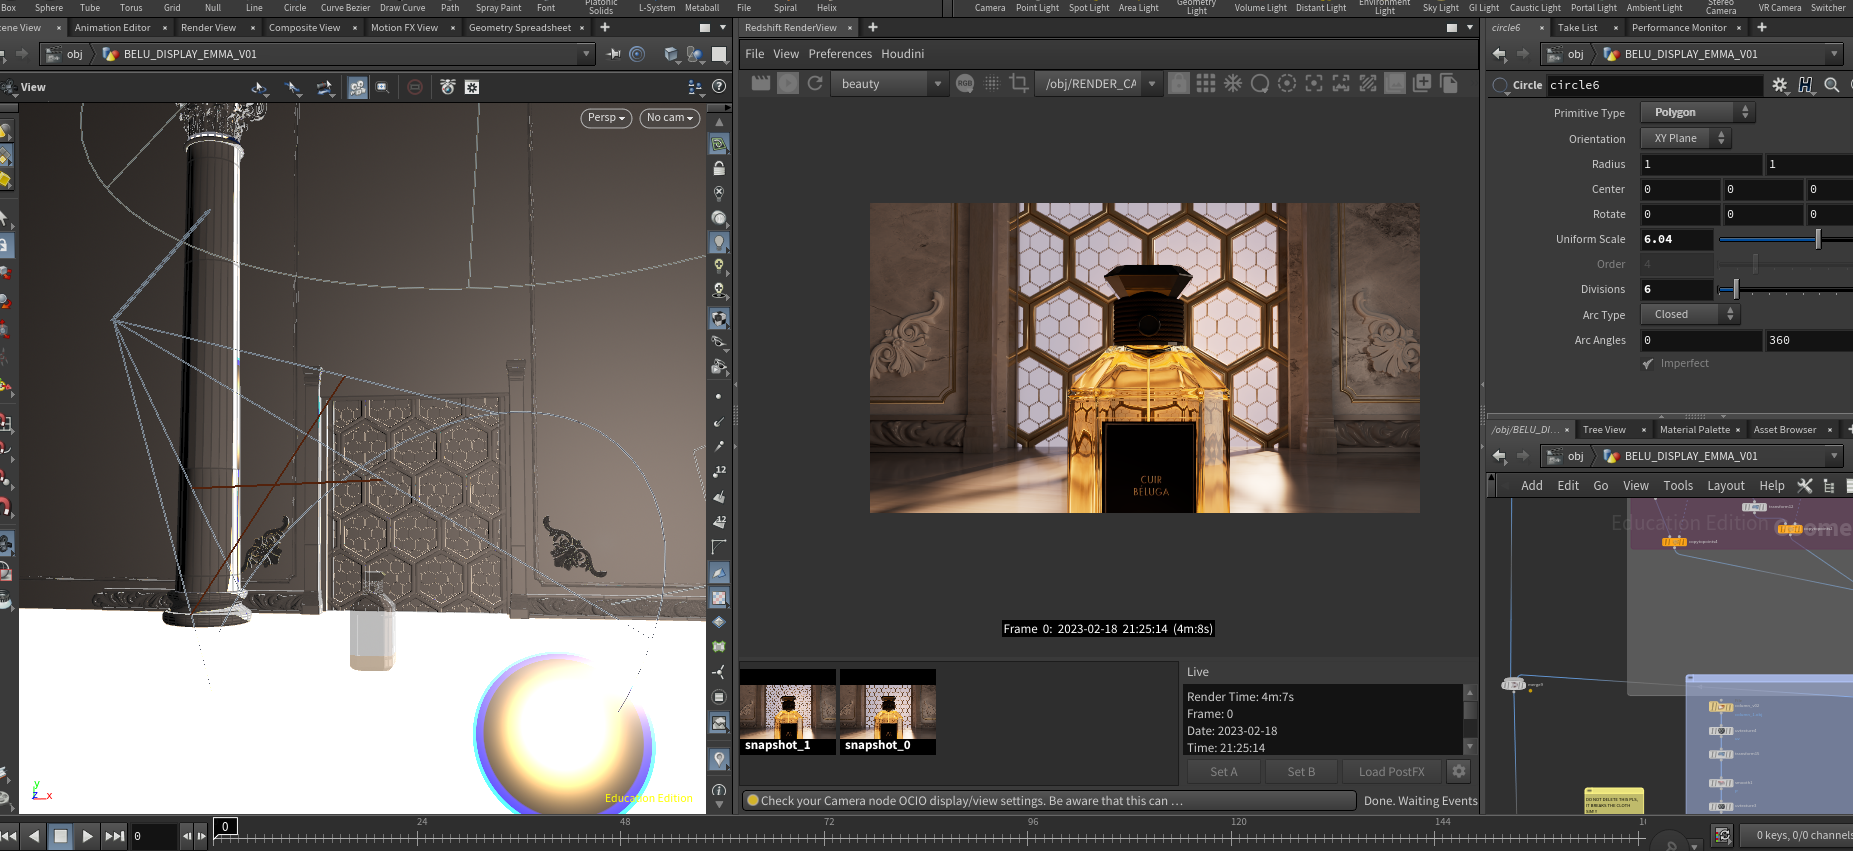
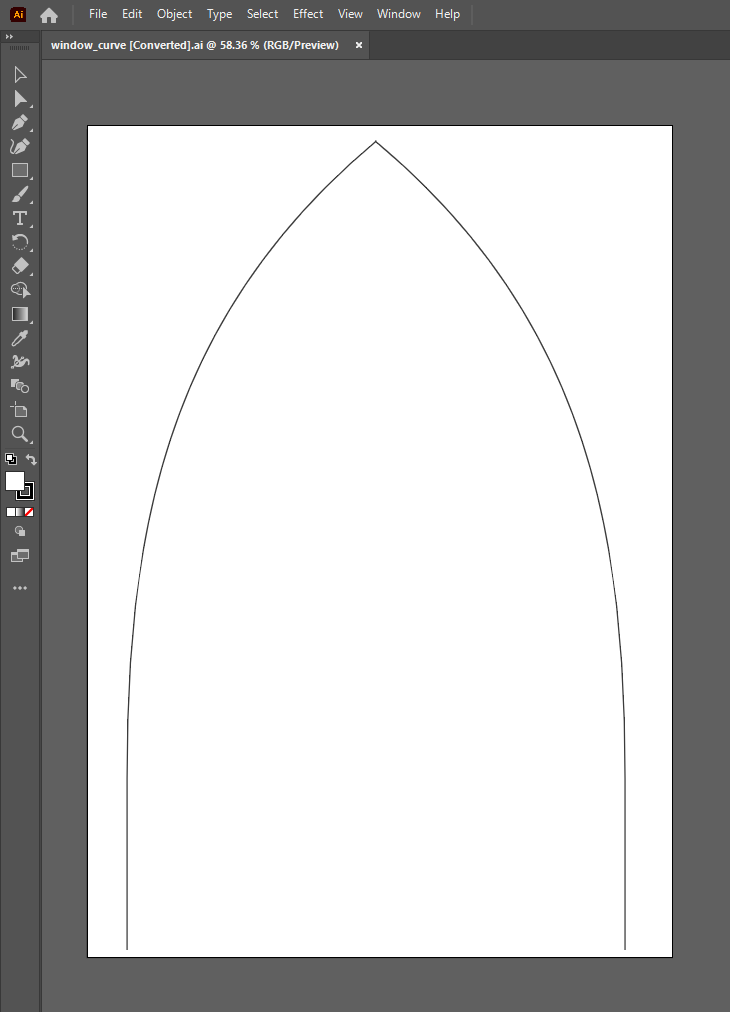
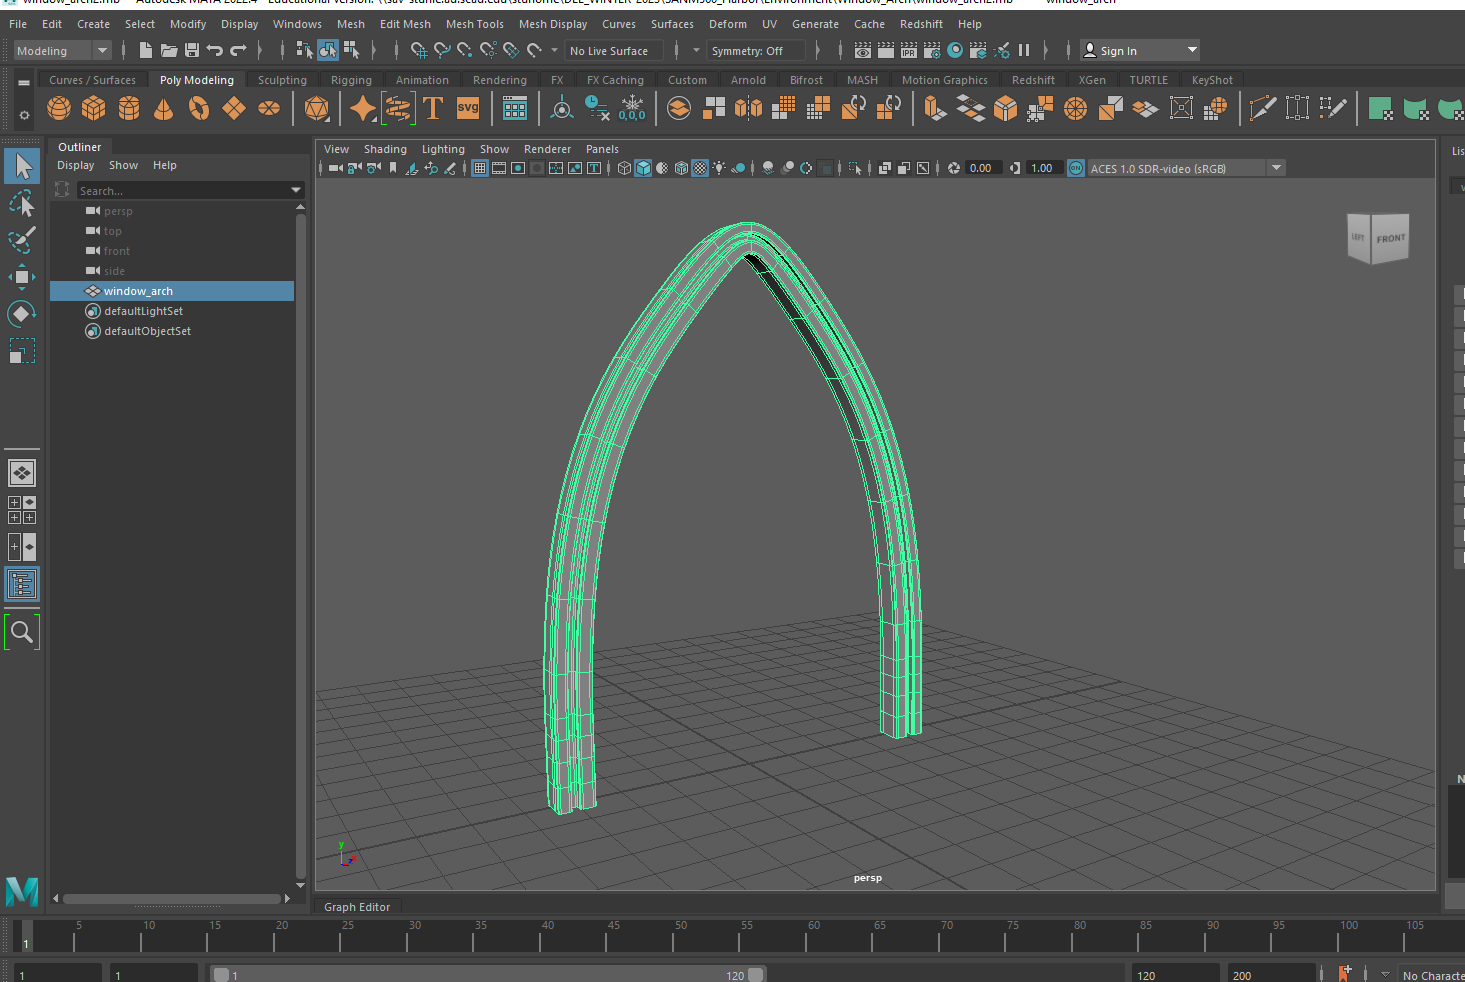
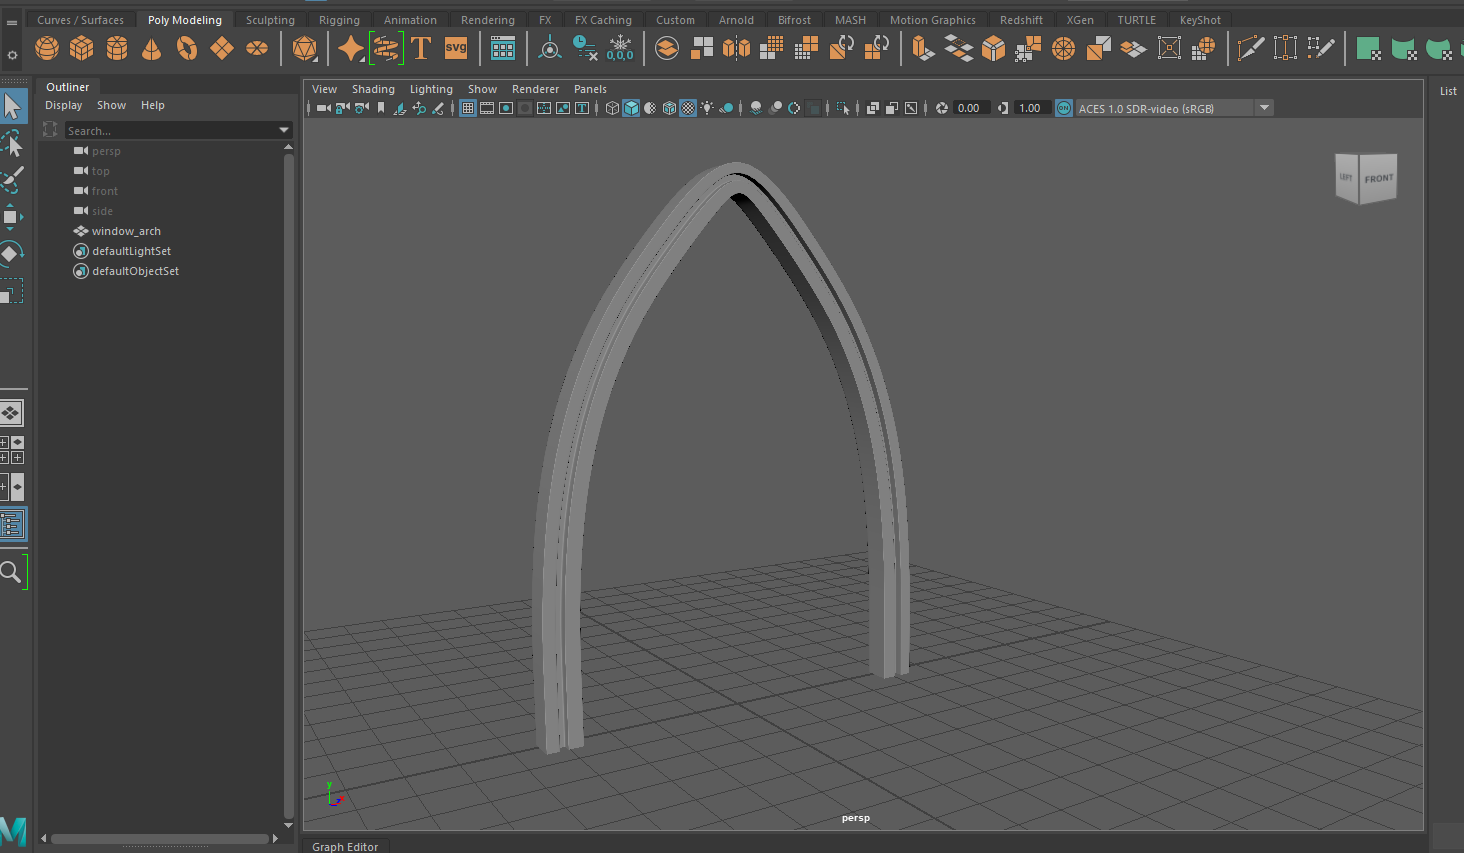
The window was starting to look a little bare and seemed to be missing something. While discussing this detail we thought adding a frame to the window will help fix this issue. I modeled an arch frame for the window by first creating a curve in illustrator and used it as a base for the overall shape of the arch. I brought the curve into Maya, extruded a cube along this curve and worked on shaping the window frame. I also added a few details to add some complexity to the frame so that it fit with the aesthetic we were going for.
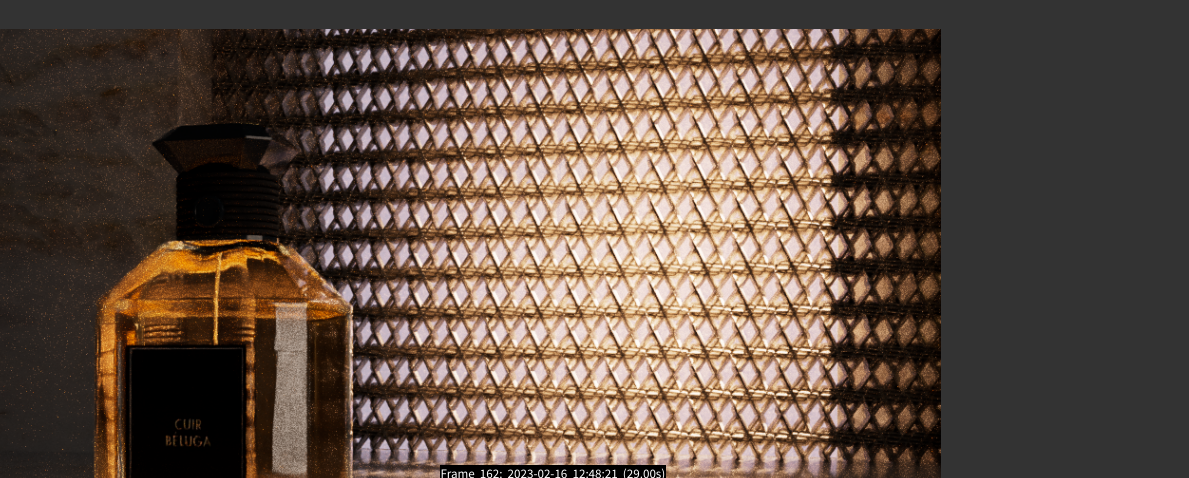
Once the arch was added, me and Emma were discussing how we could add more details to really flesh out the environment. We decided to add one more detail to the honeycomb glass of the window. We thought adding a few gold/yellow accents to some of the honeycomb details would resemble a hive where some of the hexagons are filled with honey while others are not and this would also add another level of complexity to the environment details.
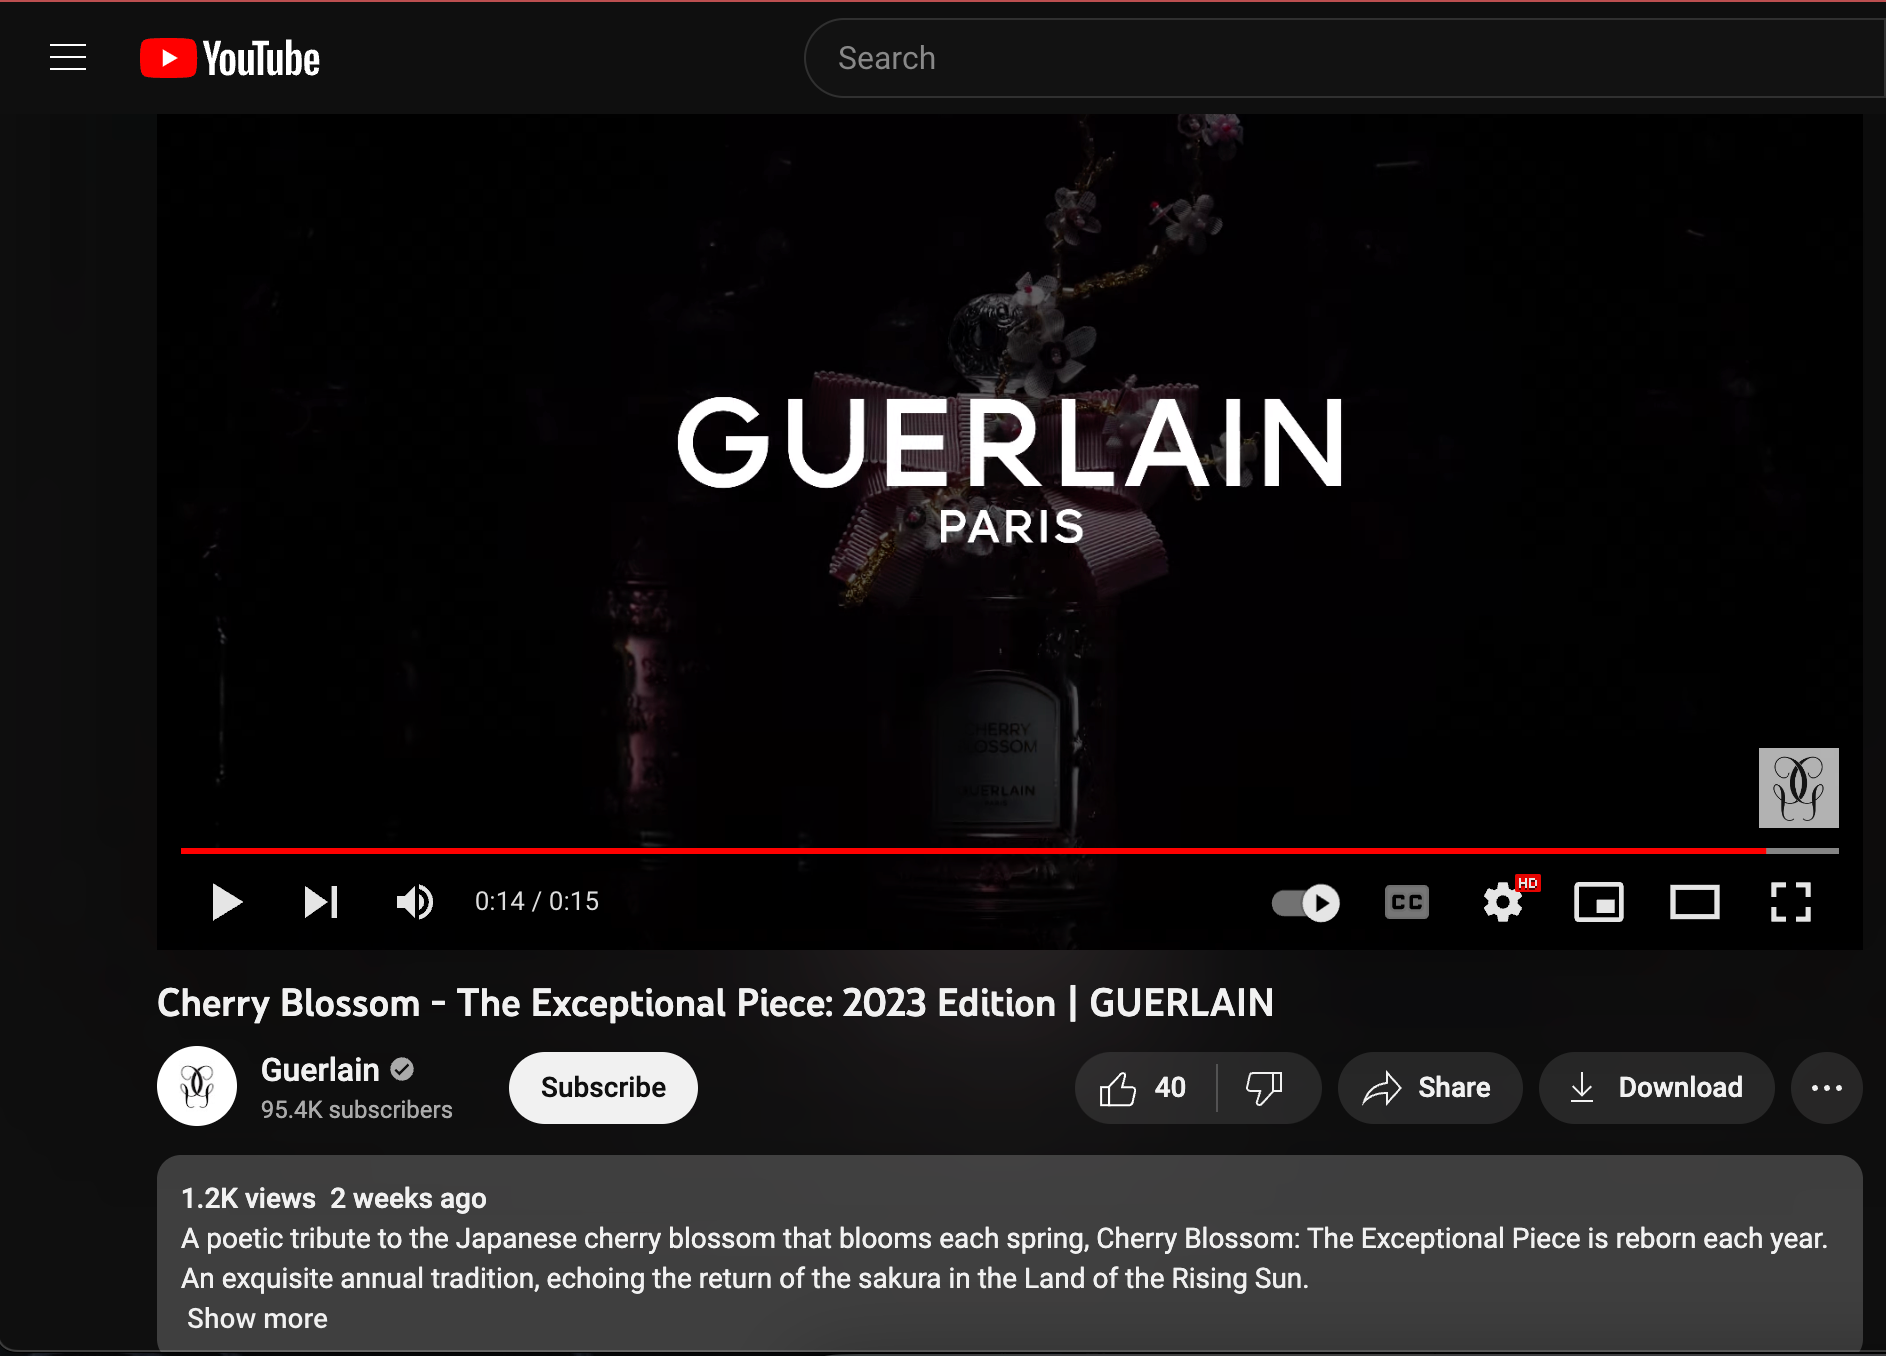
Once the environment details were decided, I moved on to the logo transition at the end of shot 05. Before I could work on this I wanted to confirm that I was using the most recently logo of the brand Guerlain. I did some research and found a source that I thought explained the brand logo history well and in detail. Here is a link to the source of my logo research: https://1000logos.net/guerlain-logo/
I also cross checked the logo detail with an official Guerlain commercial posted 2 weeks ago on their official YouTube channel: https://www.youtube.com/watch?v=G9KDowTWgZ8
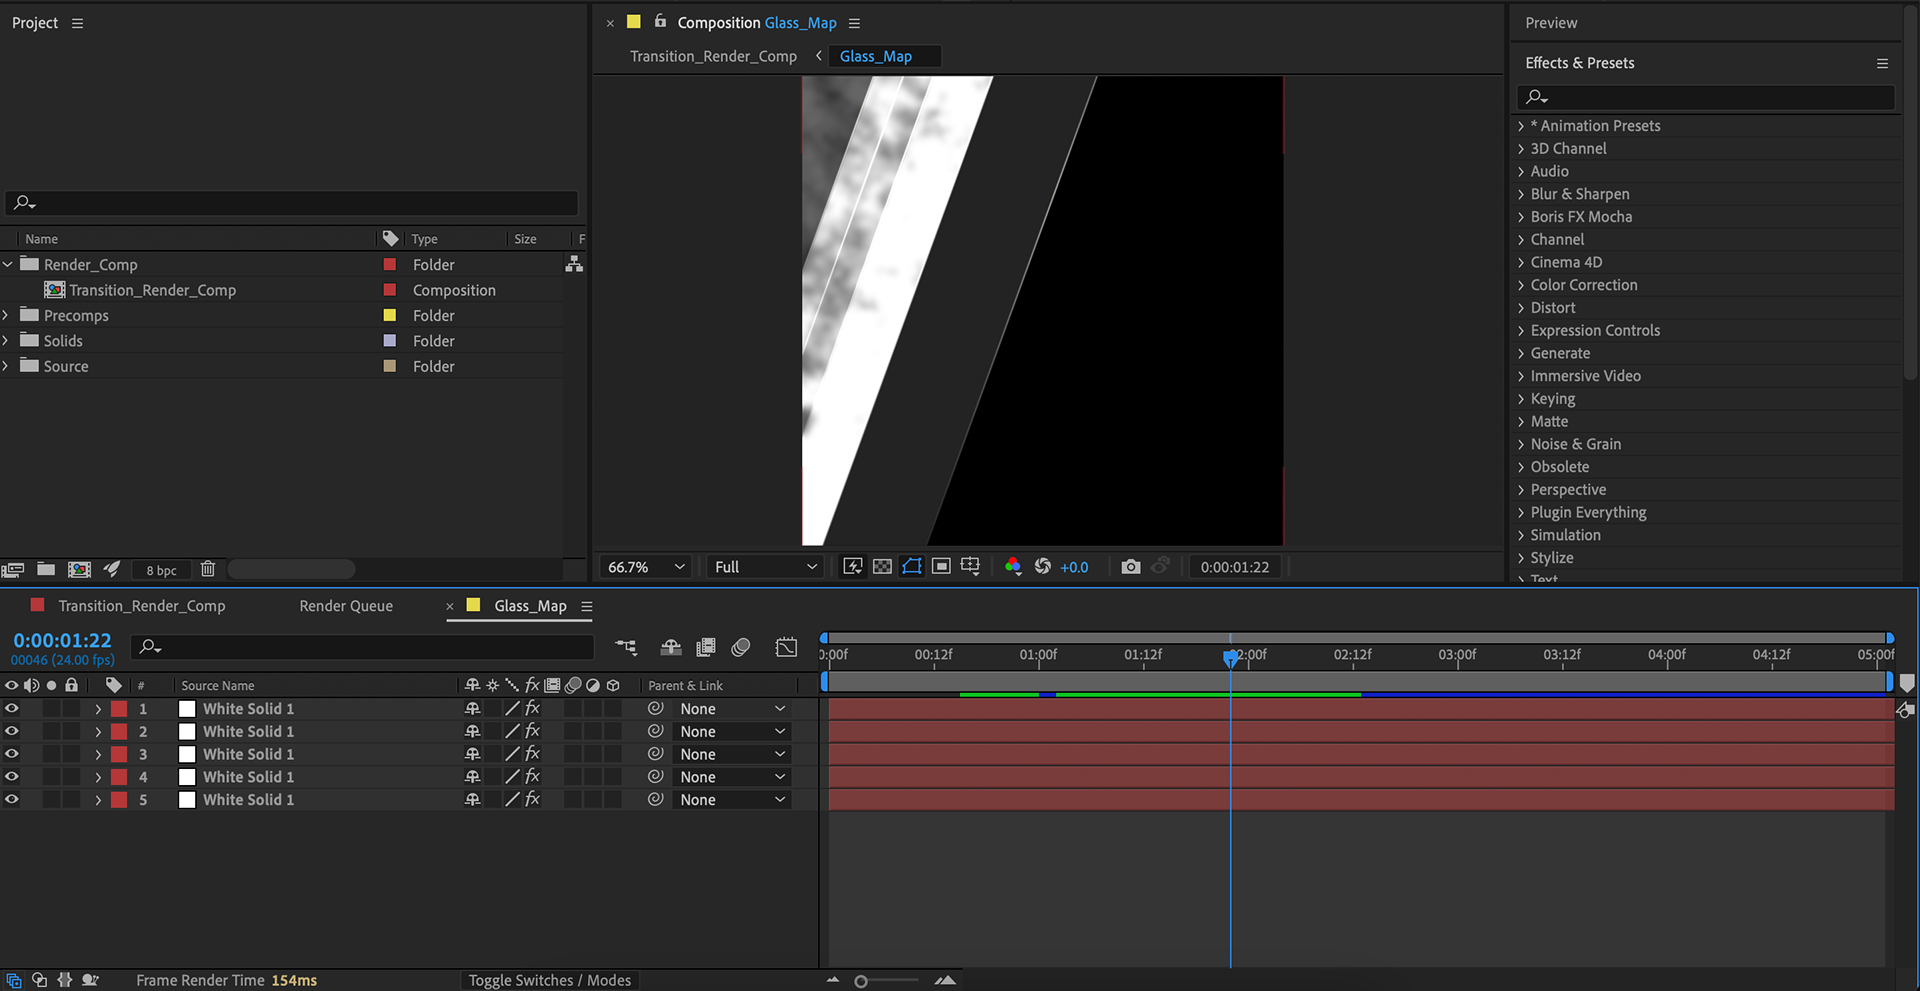
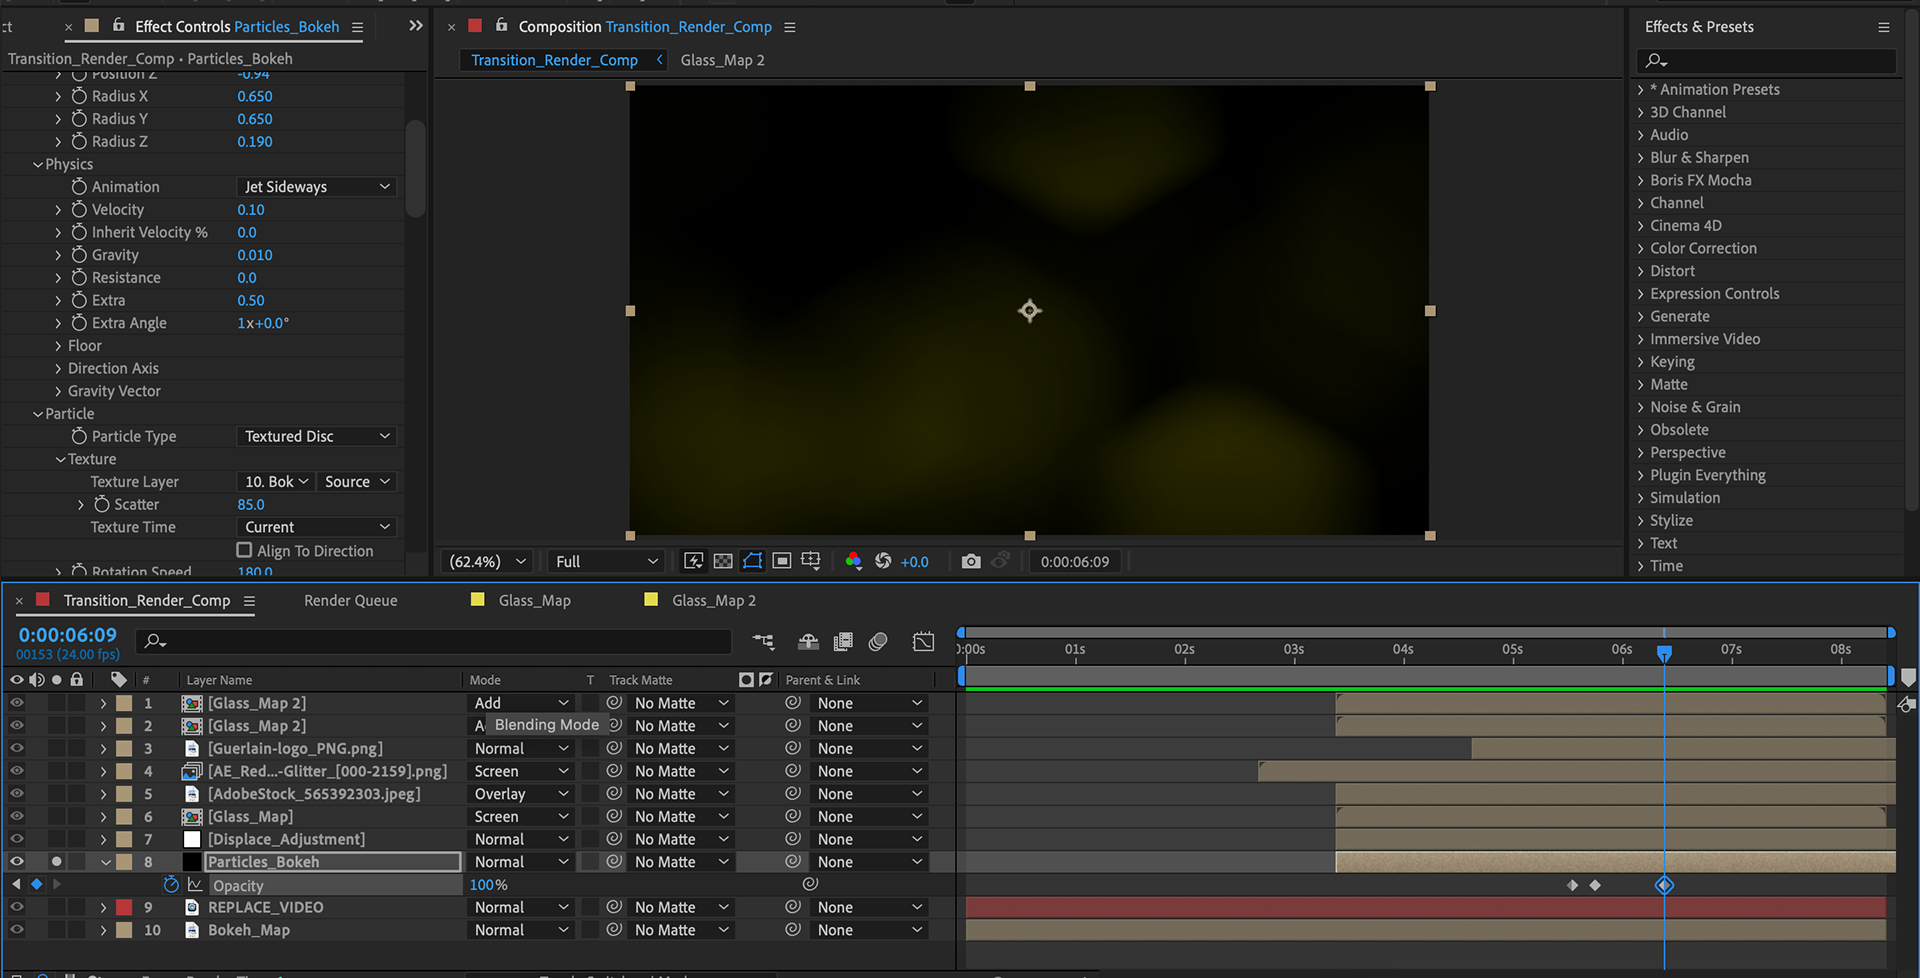
I started working on the logo transition and decided to use glass as the main element for the transition. I made a map on after effects and layered a few textured and non-textured layers to create some interest to the glass. Then I created a second map for the highlight or rim lighting details. I also added some of the glitter in front of the glass to tie it in with the glitter in the hero shot. To add another layer of detail I created some moving bokeh details which sits behind the glass. The whole process can be seen below. I will keep working on the transition more next week before finalizing it.


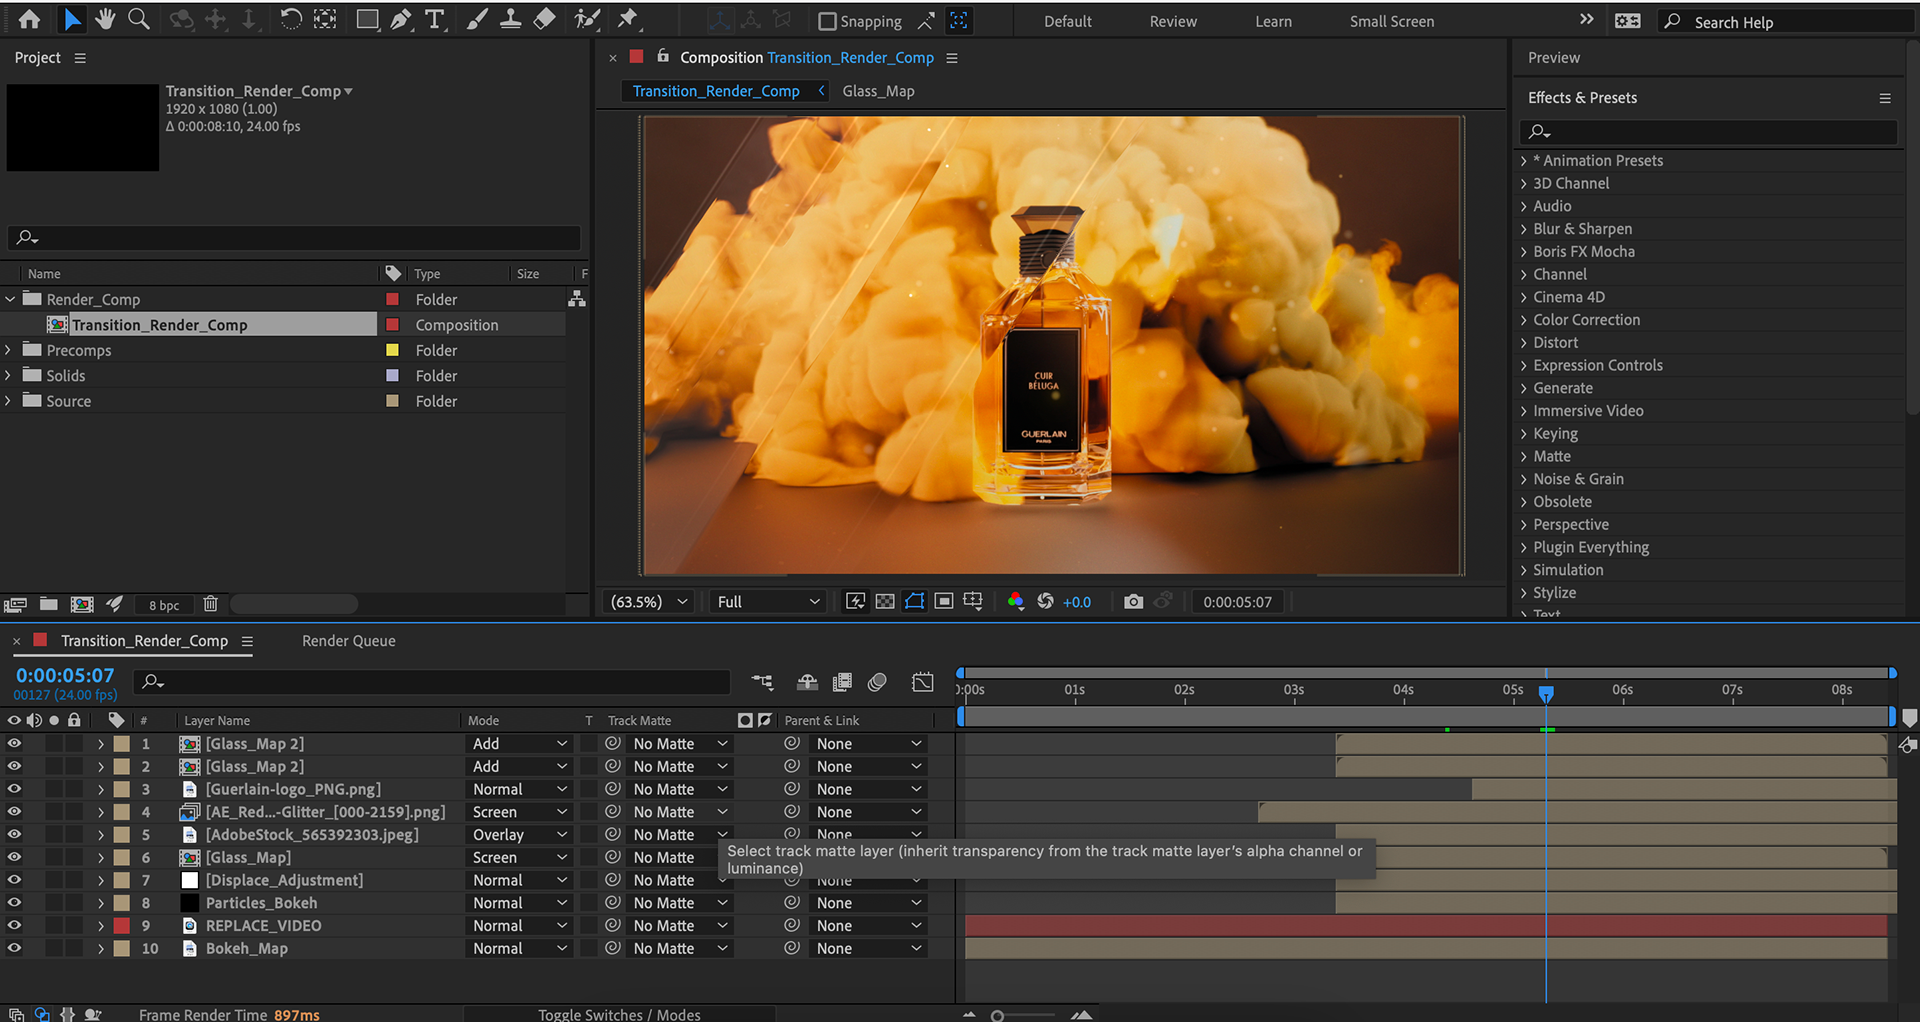

Here is the updated composite: