
Week 07 Progress
Mentors Feedback Summary
- Adding DOF would help define the shots more.
- The particle is too white, it looks better when it's purple like in shot 03.
- Reduce push-in speed for shot 03 as the 2D move seems too apparent towards the end.
- The chocolate on the ground could reflect the FX trail. This could help better integrate all the elements in the shots.
- The lighting in the opening shot feels a little flat. Add contact shadows and reflection.
- Lighting could be more dramatic.
- Maybe add purple accents.
- Use the reference from before for the lighting and colors.
My Task Breakdown
- Adjust the lighting so that it doesn't feel flat.
- Update the look of the ground shader.
- Improve the design of the hero bunny shader.
- Update the look of the ground shader.
- Improve the design of the hero bunny shader.
Comparison
Continuity Quilt Week 06 vs Week 07


Sound Update from Sawyer
Sawyer updated the sound effects and adjusted the music. He did this for a previous version and will work on updating it for the latest version of the previs.
Edit with Tagline
I tried editing a version of the commercial with the tagline detail I mocked up last week just to test out if we need it.
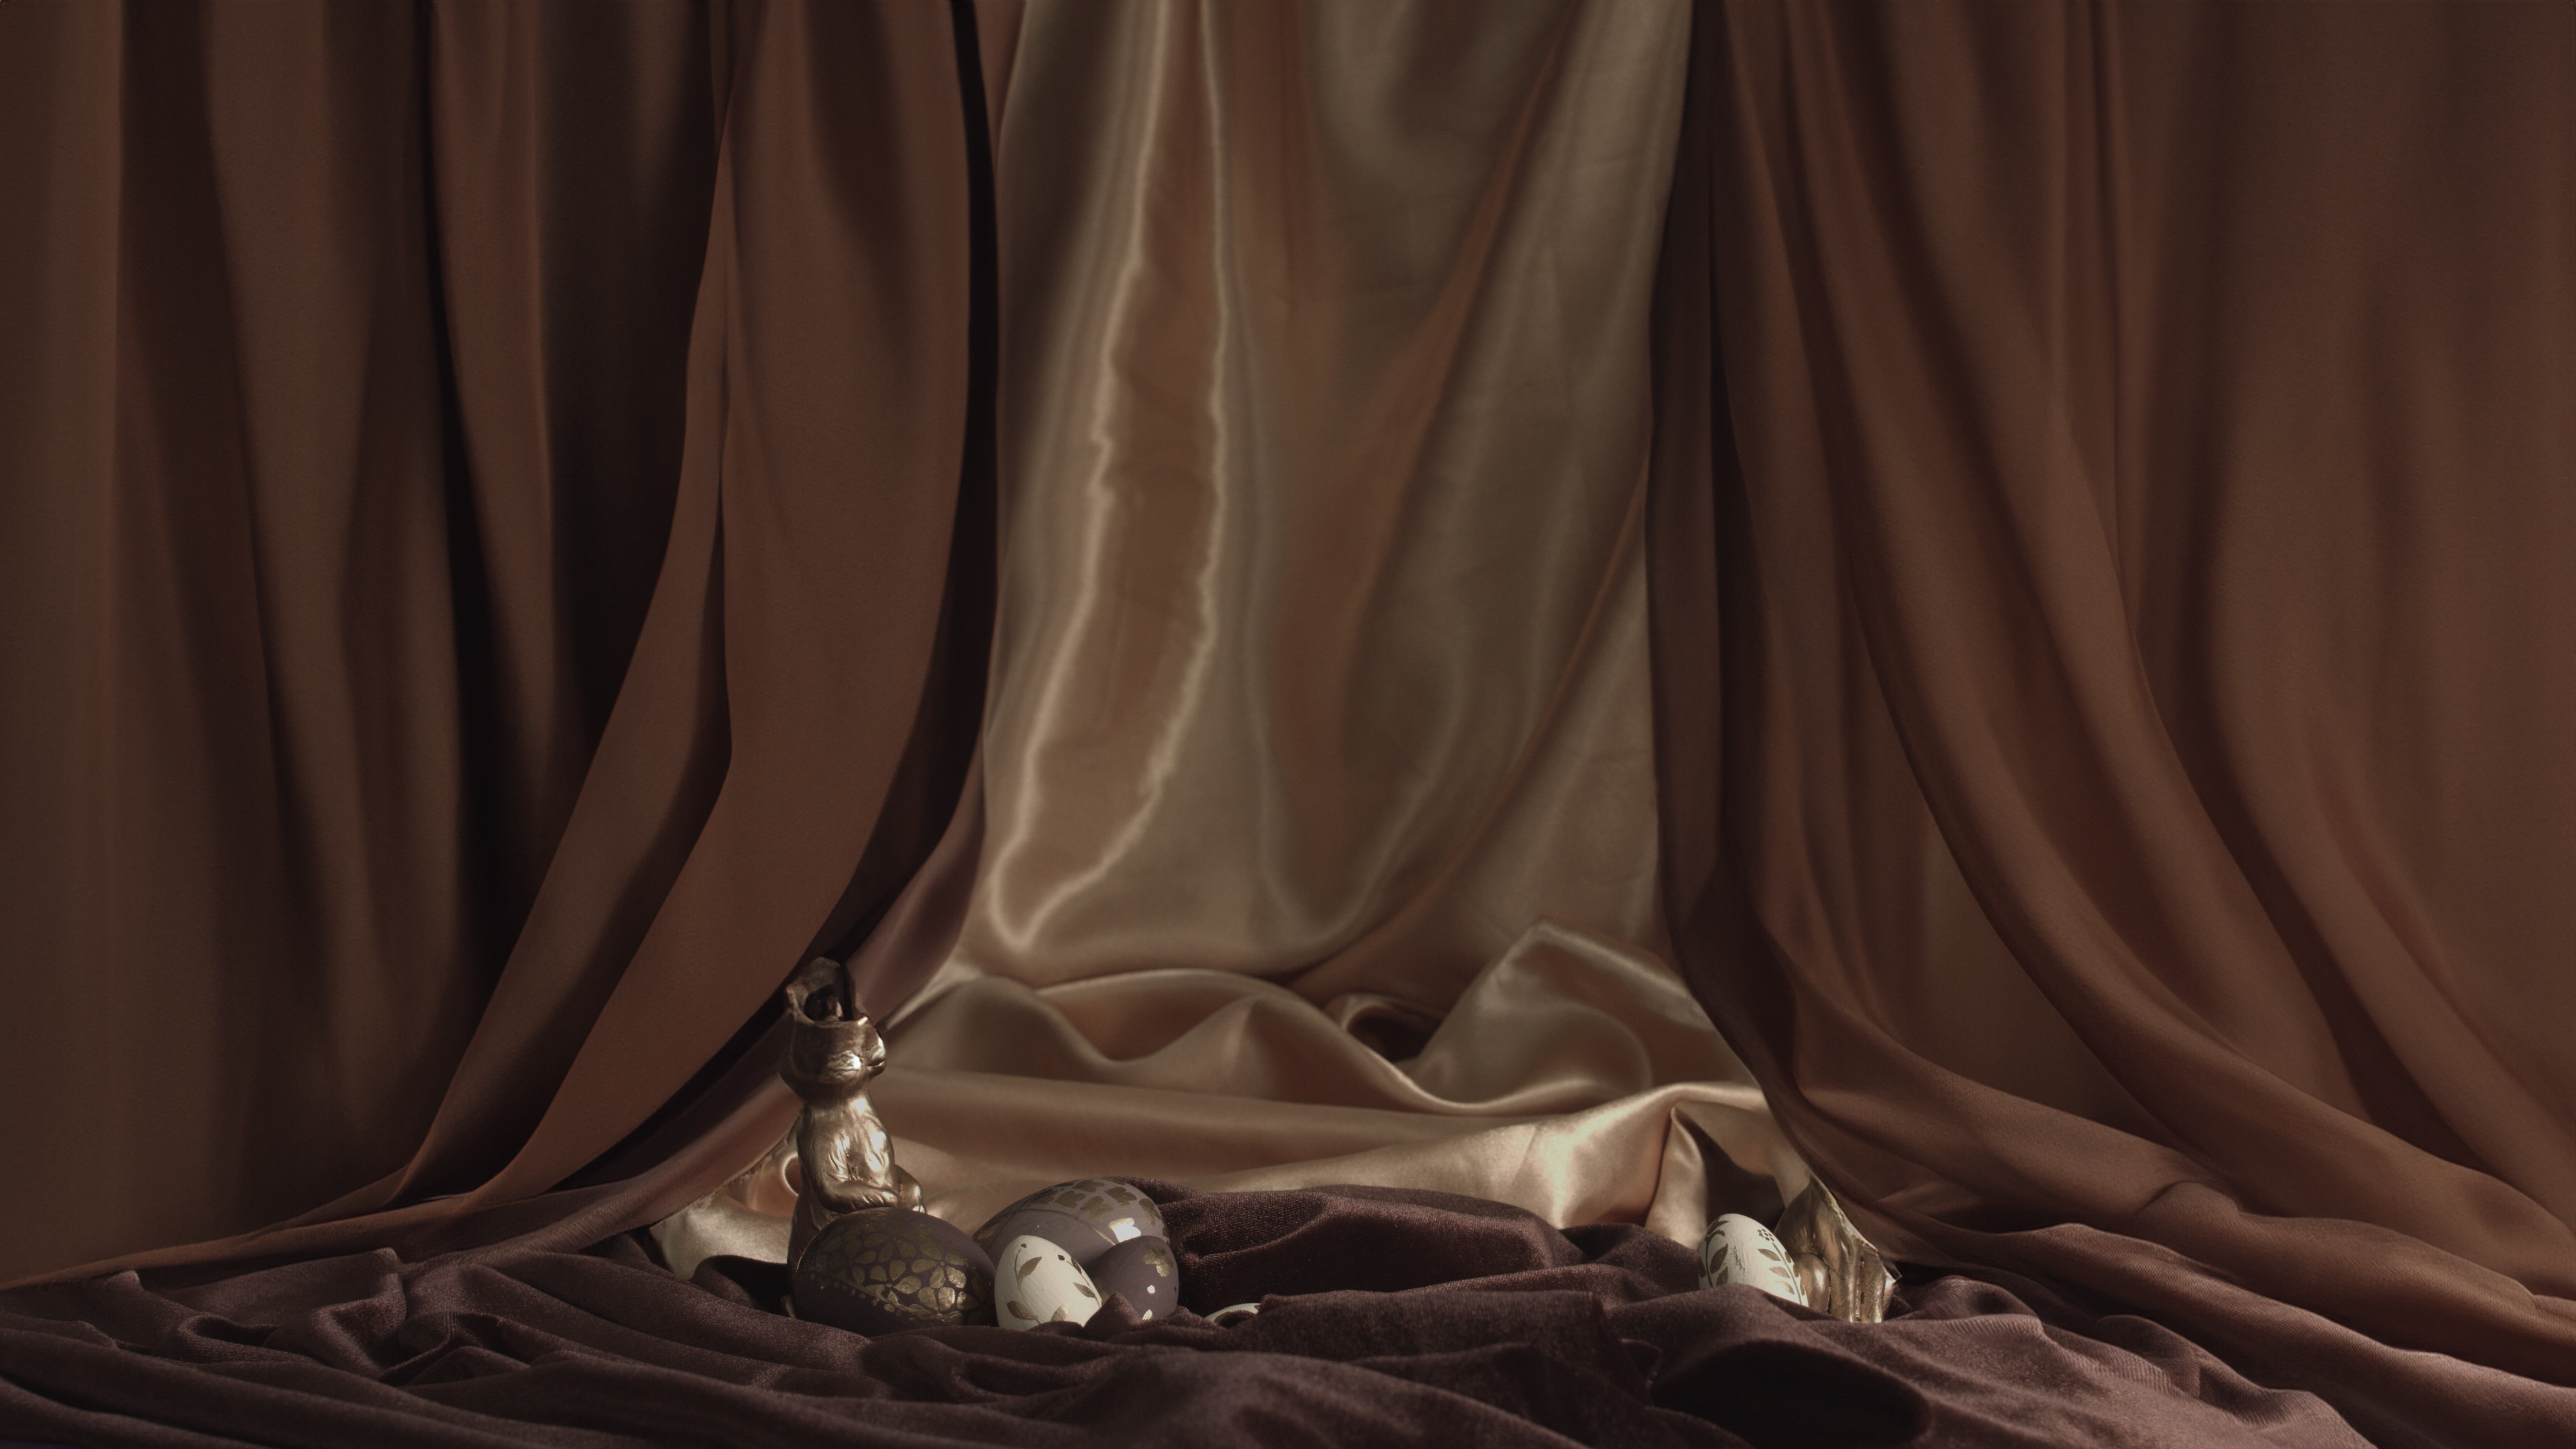
Ground Shaders
As seen in the first image below, Yanni created a variation for the ground shader. I used the same setup to create details on the ground shader. I plan on adjusting this further this week.


Live-Action Plate Options
I used the generative fill function in Photoshop to create multiple options for the live-action plate details. I passed the Photoshop file to Shashank so he can try some of these options.


Shader and Lighting Update
I started over with the lighting and adjusted the shaders to have better control over everything. Below are videos that show my process and all the changes I made.